Guide: Set Up and Configure a Self-Hosted Heroku Alternative with Dokku
• ByPaaS systems such as Heroku make app deployment easy; they abstract away the server setup and configuration process, giving developers an easy way to manage and deploy their apps by simply pushing to a git repo. However, service through Heroku can quickly become expensive compared to VPS services like Linode or DigitalOcean. Enter Dokku. Dooku describes itself as a “mini Heroku”, and allows developers to easily set up a Heroku-like deployment process on any server. This guide will walk through the steps necessary to get a web app up and running on Dokku, including automatic deployment from Github, configuring a custom domain name, and setting up HTTPS support.
This guide will assume that you already have a Linux server running on which Dokku can be installed. For Dokku system requirements, see here. Web apps build using languages/frameworks supported by Heroku should work with Dokku automatically.
Install and Setup Dokku
The first step is to install Dokku and go through initial setup on your server.
- SSH to your server and install Dokku using the commands below. The second command can take a few minutes to complete.
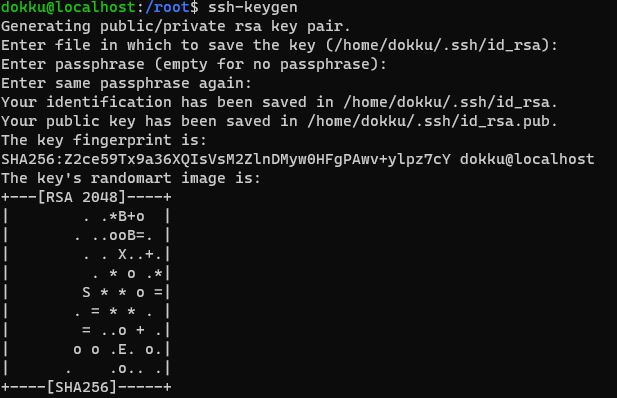
wget https://raw.githubusercontent.com/dokku/dokku/v0.22.9/bootstrap.sh sudo DOKKU_TAG=v0.22.9 bash bootstrap.sh - Generate an SSH key pair to use with Dokku using the commands below.
- This can be done on the server or your local machine, though it is easiest to track them if they are created and stored under the “dokku” user on the server. This guide will walk through the steps for generating and saving SSH keys under the “dokku” user.
- When running
ssh-keygen, pressing the enter key at each promp without inputting a value will use the default options (this will work best in the following steps).# Become the "dokku" user. sudo su dokku # Generate the keys. ssh-keygen # Switch back to your primary user. exit
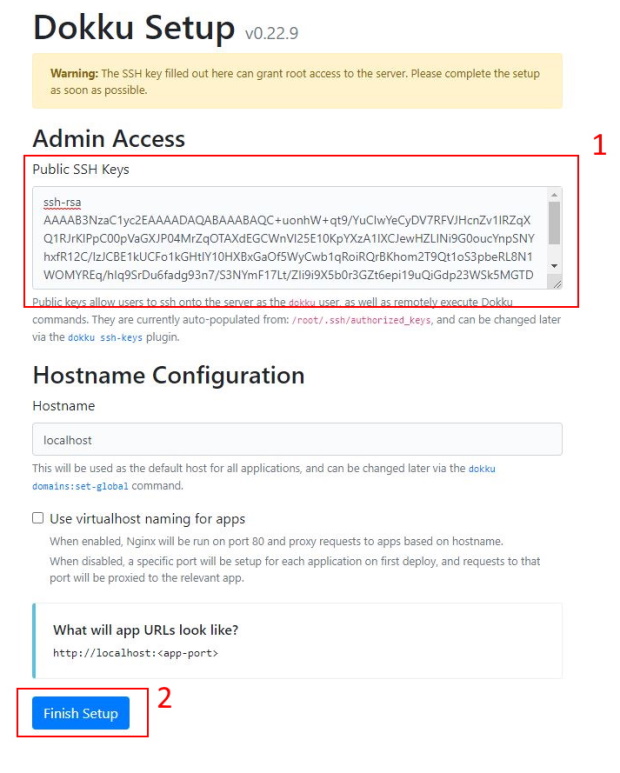
- Configure Dokku by navigating to your server’s IP address in a browser window.
- In the “Public SSH Keys” field, enter the public key generated in the step above. The text for this can be obtained by running
cat /home/dokku/.ssh/id_rsa.puband copy/paste into this field. - Other fields on this page can stay as their default values. Click “Finish Setup” to continue.
- In the “Public SSH Keys” field, enter the public key generated in the step above. The text for this can be obtained by running
Deploy to Dokku through GitHub
Now that Dokku has been installed and configured, the next step is to deploy code using GitHub Actions. For this example, I will be using an Express app and an adapted version of the Github Actions template workflow provided by Dokku.
- SSH to your server (if you are not already there!) and create an app in Dokku using the command below.
- The app name must begin with lowercase alphanumeric character, and cannot include uppercase characters, colons, or underscores.
dokku apps:create [NAME_FOR_APP]
- The app name must begin with lowercase alphanumeric character, and cannot include uppercase characters, colons, or underscores.

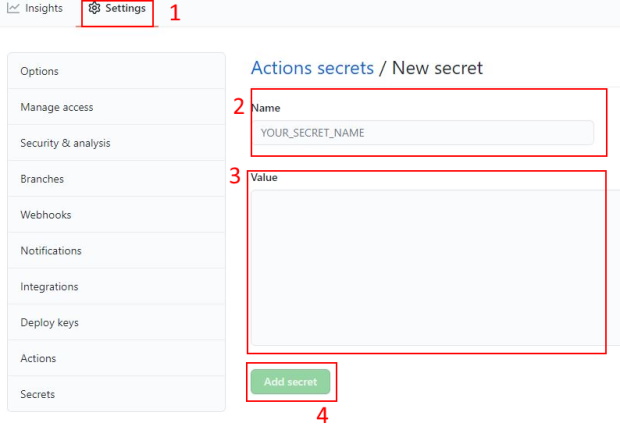
- From the GitHub website, add your SSH private key. This will allow the GitHub Actions workflow to connect to your server for deployment.
- From the repository containing your app code, click “Settings” from the nav bar and then select “Secrets”.
- Click “New repository secret”.
- Enter “SSH_PRIVATE_KEY” as the name and the private key generated above as the value. The text for this can be obtained by running
cat /home/dokku/.ssh/id_rsaand copy/paste into this field. - Click the “add secret” button to save the new secret.
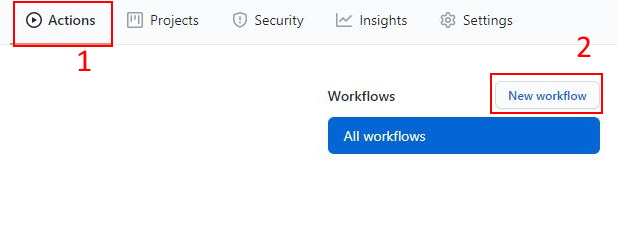
- From the GitHub website, add the GithHub Actions workflow.
- From the repository to deploy, click “Actions” from the nav bar and then select “set up a workflow yourself”.
- Enter the following code into the editor window (adding your server’s IP and app name from the last step), and then commit the file using “Start commit” button.
- From the repository to deploy, click “Actions” from the nav bar and then select “set up a workflow yourself”.
name: 'Deploy to Dokku'

on:
  push:
    branches:
      - main # Change this if your local branch is not called "main".

jobs:
  deploy:
    runs-on: ubuntu-latest
    steps:
      - name: Cloning repo
        uses: actions/checkout@v2
        with:
          fetch-depth: 0

      - name: Push to dokku
        uses: dokku/github-action@master
        with:
          # specify the `main` branch as the remote branch to push to

          git_remote_url: 'ssh://dokku@[SERVER_IP]/[APP_NAME]'
          ssh_private_key: ${{ secrets.SSH_PRIVATE_KEY }}
Your code should now be set to automatically deploy to Dokku whenever a push is made to the specified branch. You can see a history these deploys by selecting “Actions” from the nav bar. If a deploy fails, you can select the deployment from this history for more in-depth troubleshooting details. Dooku uses the Herokuish tool for emulating the Heroku deployment experience; see the Herokuish GitHub page for help with deployment issues.
You should now be able to access your application via you server’s IP address and a custom port. Get the port by running dokku proxy:ports [APP_NAME] (the value you want it listed as “host port”), and then access the application from you web browser user “http://[SERVER_IP]:[APP_PORT]”. If you run into issues connecting, it may be that the port if not open on your server.
Configure a Custom Domain with SSL
Now that your app is up and running in Dokku, it is time to connect it to a custom domain name and configure SSL.
Connect Custom Domain
- Visit your domain registrar’s website and configure a DNS record to point from your custom domain (or subdomain) to your server IP. This should be an “A” type record.

- Run the command below to associate your custom domain name with the desired Dokku app. When running this command, the domain name should not include “https:” or any slashes.
dokku domains:add [APP_NAME] [DOMAIN_NAME]Configure SSL
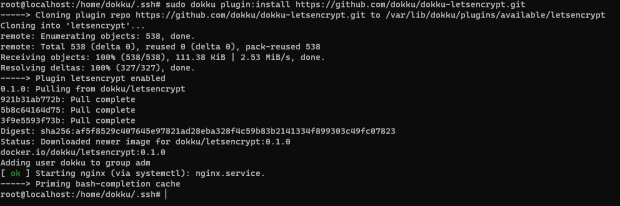
- Install the Let’s Encrypt Dooku plugin with the command below. This plugin will handle SSL setup and renewals for your custom domain name.
sudo dokku plugin:install https://github.com/dokku/dokku-letsencrypt.git
- Run the command below to enter an email address for SSL certificate creation/renewal.
dokku config:set --no-restart [APP_NAME] DOKKU_LETSENCRYPT_EMAIL=[EMAIL_ADDRESS] - Turn on SSL for your app with the command below.
dokku letsencrypt [APP_NAME] - Turn on SSL auto renew for your apps with the command below.
dokku letsencrypt:cron-job --add
That’s it! Your app should now be accessible at “https://[DOMAIN_NAME]” and will be automatically redeployed whenever changes are pushed to your GitHub repo.
Feel free to reach out with any questions/comments at hello@zumbro.me.